Preserving moments in time is a cherished practice that allows us to capture the essence of a memory and hold it close forever. Among the many methods available, using a casting kit for hands offers a unique and intimate way to immortalise the bond between loved ones. Whether it's a parent and child, newlyweds, or lifelong friends, creating a hand cast serves as a tangible symbol of connection and affection.
Choosing the Right Casting Kit
Before diving into the casting process, it's essential to select the appropriate casting kit. Consider factors such as the material used, ease of use, and the desired level of detail in the final cast. Most casting kits come with detailed instructions, but it's wise to familiarise yourself with the steps beforehand to ensure a smooth experience.
Preparing for the Casting Process
Begin by setting up a well-lit and spacious area where you can work comfortably. Lay out all the materials included in the kit, including the casting powder, moulding container, and any additional tools required. It's advisable to wear protective clothing and gloves to prevent any skin irritation from the casting materials.
Mixing the Casting Material
Follow the instructions provided with the kit to prepare the casting material. Typically, this involves mixing the casting powder with water to create a smooth and pourable mixture. Take care to stir the mixture thoroughly to eliminate any lumps or air bubbles that may affect the final result.
Creating the Mold
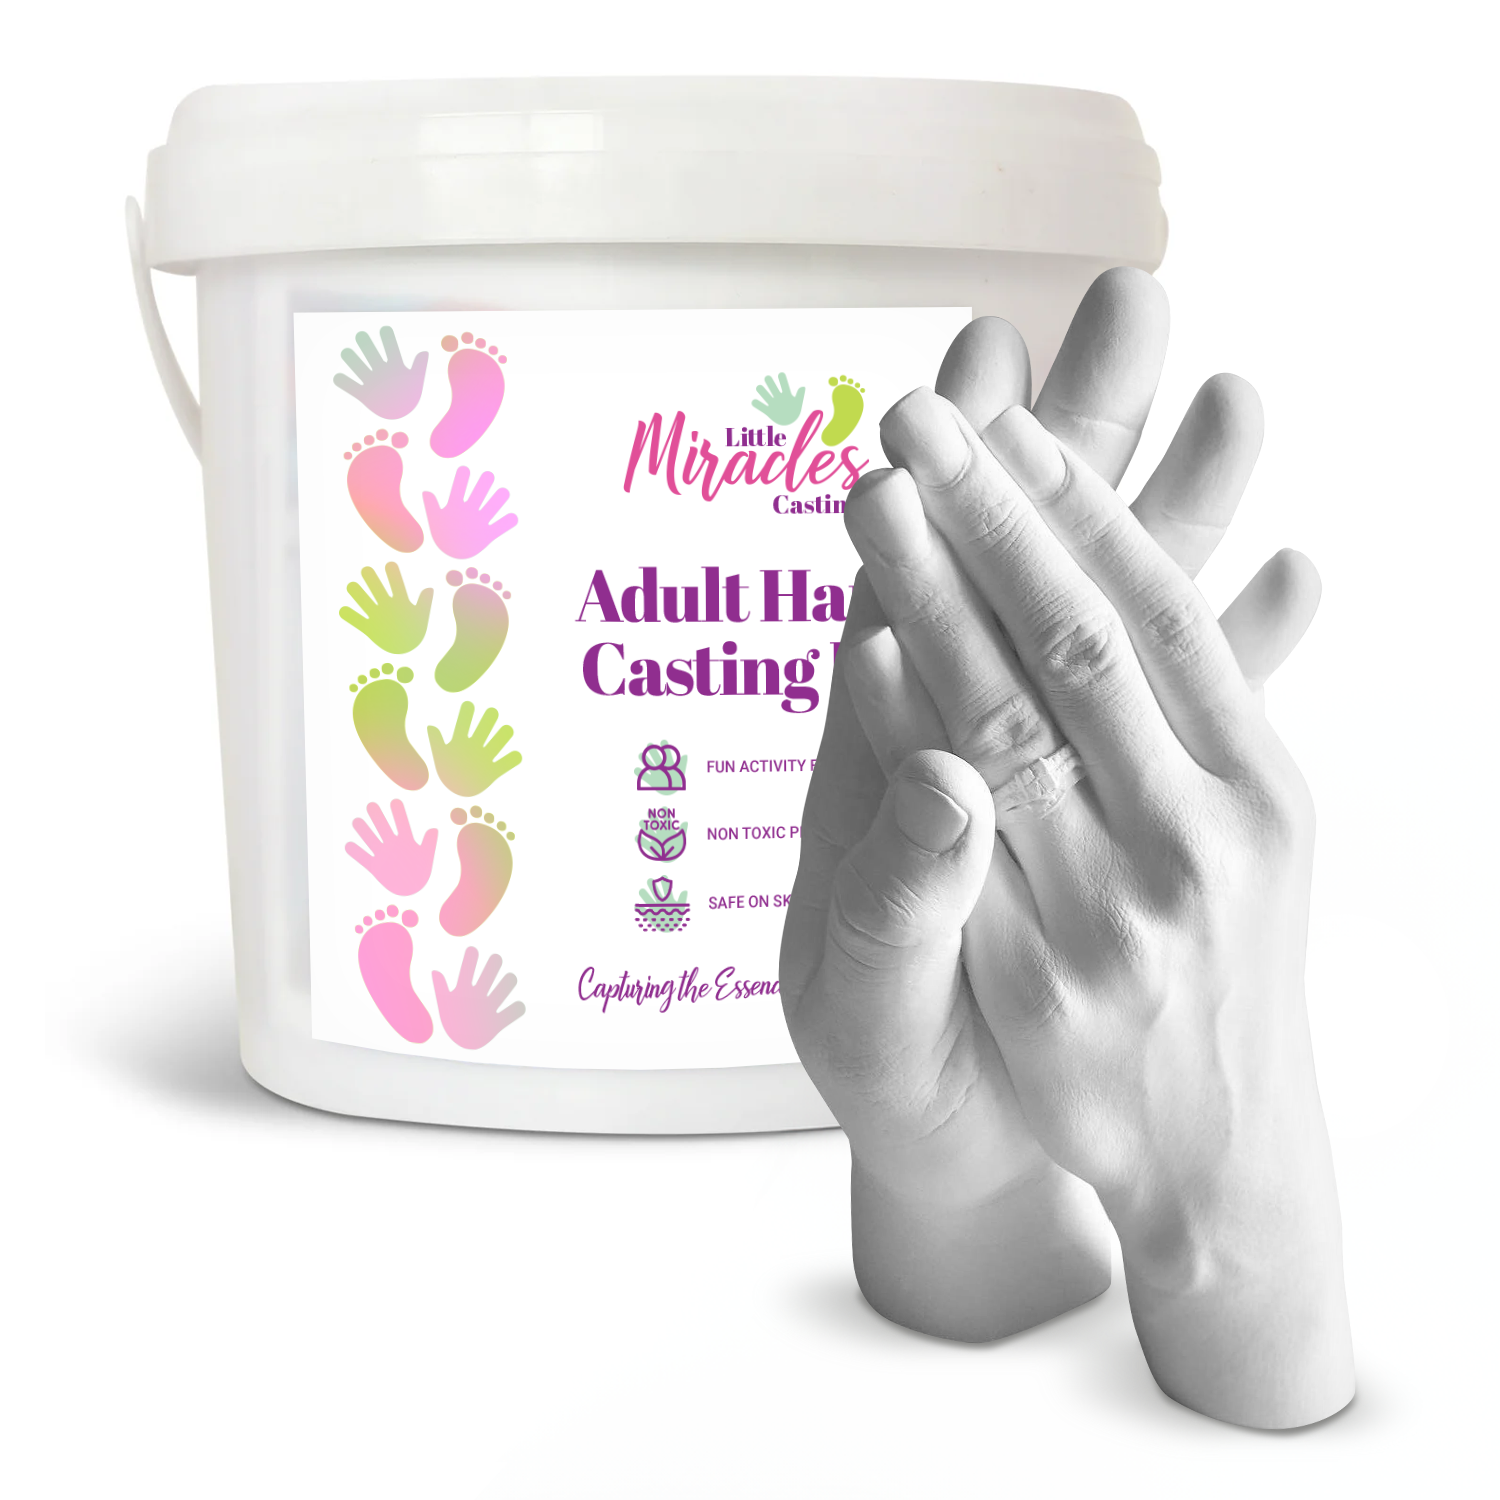
Once the casting material is prepared, carefully pour it into the moulding container. If creating a hand cast of two individuals, ensure that both hands are positioned comfortably and securely within the container. Hold the hands steady until the casting material sets, which usually takes a few minutes.
Releasing the Cast
Once the casting material has fully set, gently remove the hands from the mould. Take your time to avoid damaging the delicate details of the cast. If any air bubbles or imperfections are present, they can be carefully smoothed out using sandpaper or a fine-grit file once the cast is fully cured.
Decorating and Displaying the Cast
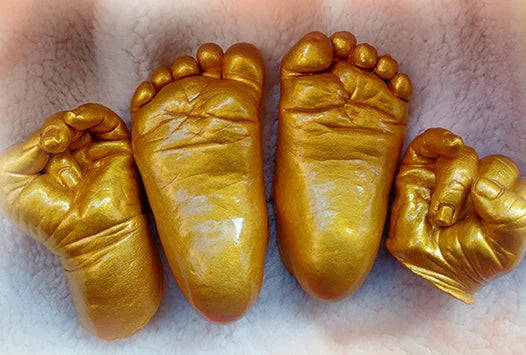
Once the cast has cured completely, you can unleash your creativity by decorating it to your liking. Consider painting the cast in vibrant colours, adding personalised engravings, or incorporating other decorative elements that hold special meaning. Once finished, display the hand cast in a prominent place where it can be admired and cherished for years to come.
Preserving the Memory
A hand cast created using a casting kit serves as more than just a decorative piece; it's a tangible reminder of the love and connection shared between individuals. Whether given as a gift or kept as a personal memento, a hand cast captures a moment in time and preserves it for generations to come, creating a lasting legacy of cherished memories.


