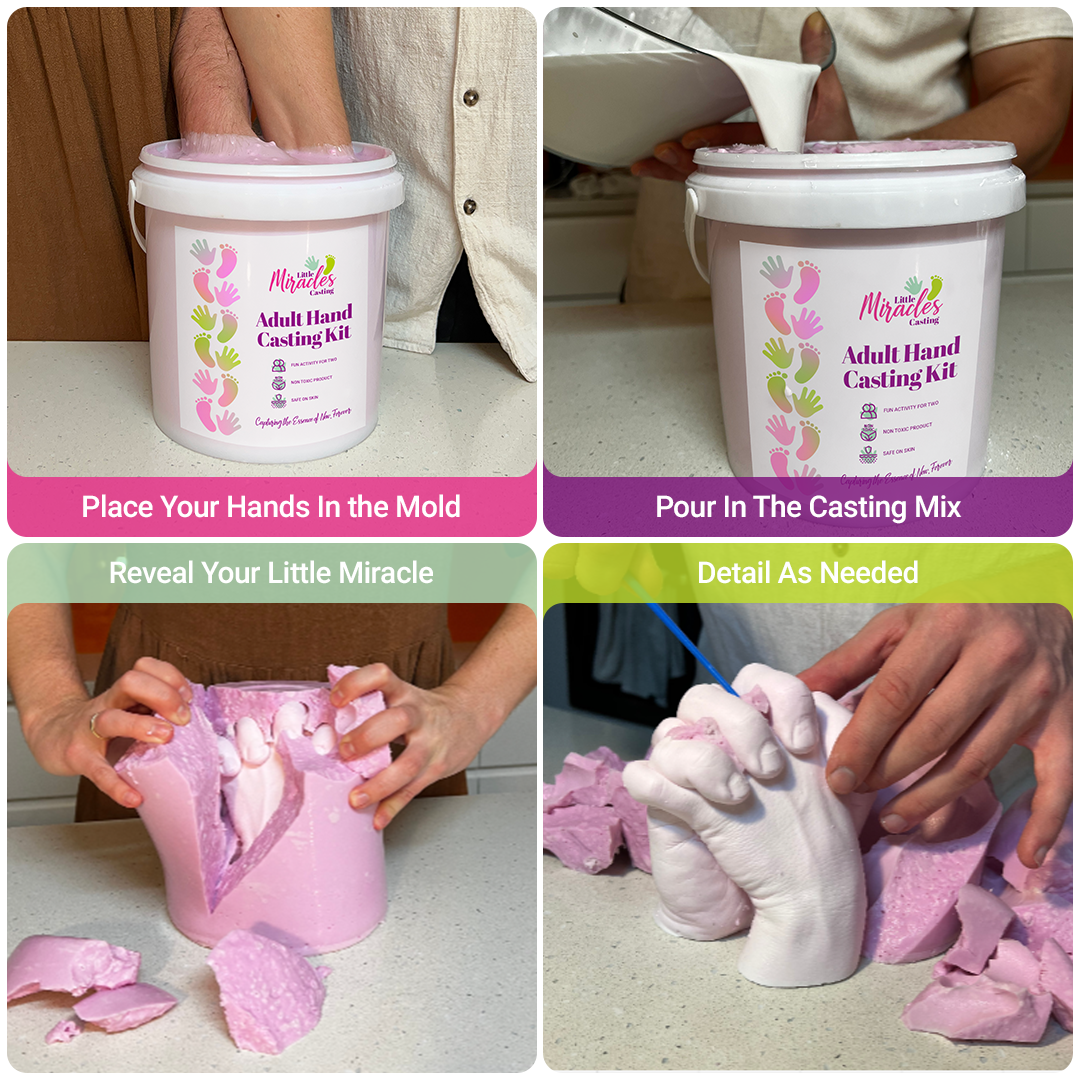
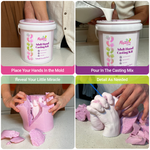
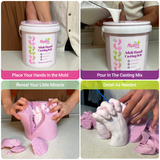
Step by step instructions (30 min)
Download Kit Instructions
Shipping and Handling
Free Shipping on orders over $100
Tracking provided with all orders
Contact us for support
What These Kits Are For
Date Nights
Engagements
Weddings
Anniversaries
Valentines
Celebrating Love
Birthdays
Milestones
Remembrance
My Personal Tip...
To make your experience extra special
Practice the position of your clasped hands before inserting into the cast. And ensure you do not touch the sides or bottom.
This gives you the best chance of creating a highly detailed and realistic casting keepsake. Cherish this experience by having fun and enjoy strengthening the bond between you and your dearest.
After all people don't remember the years. They remember the moments.
The memories of these moments connect our love forever.
PS: Click here for more tips on how to create the perfect couples casting.


Why Choose Our Kits
Designed & Shipped In Australia
100% Baby & Pet Friendly
Reveal every intricate detail

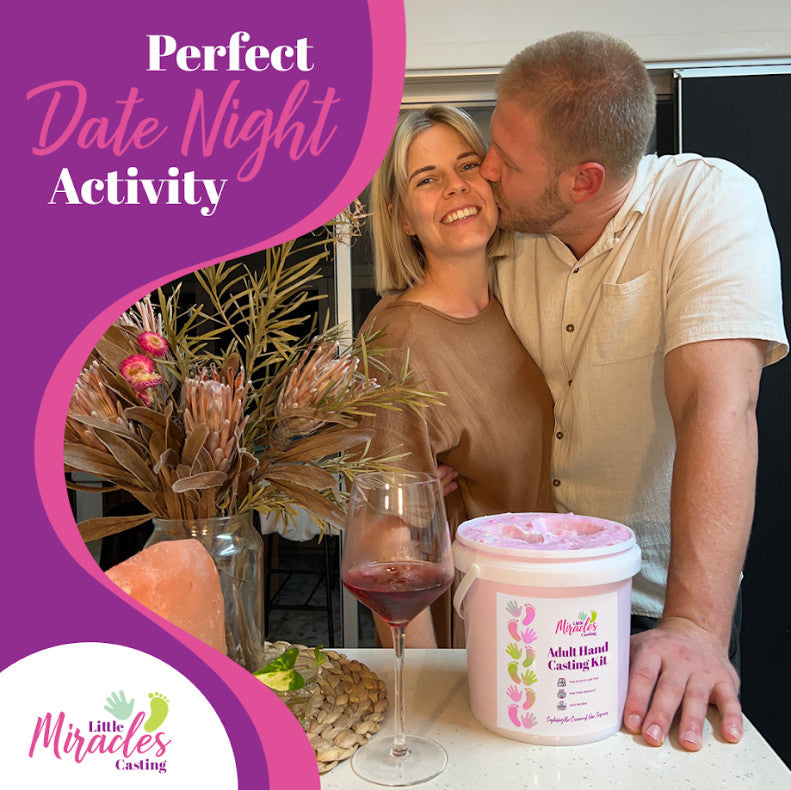
Great Date Night Activity
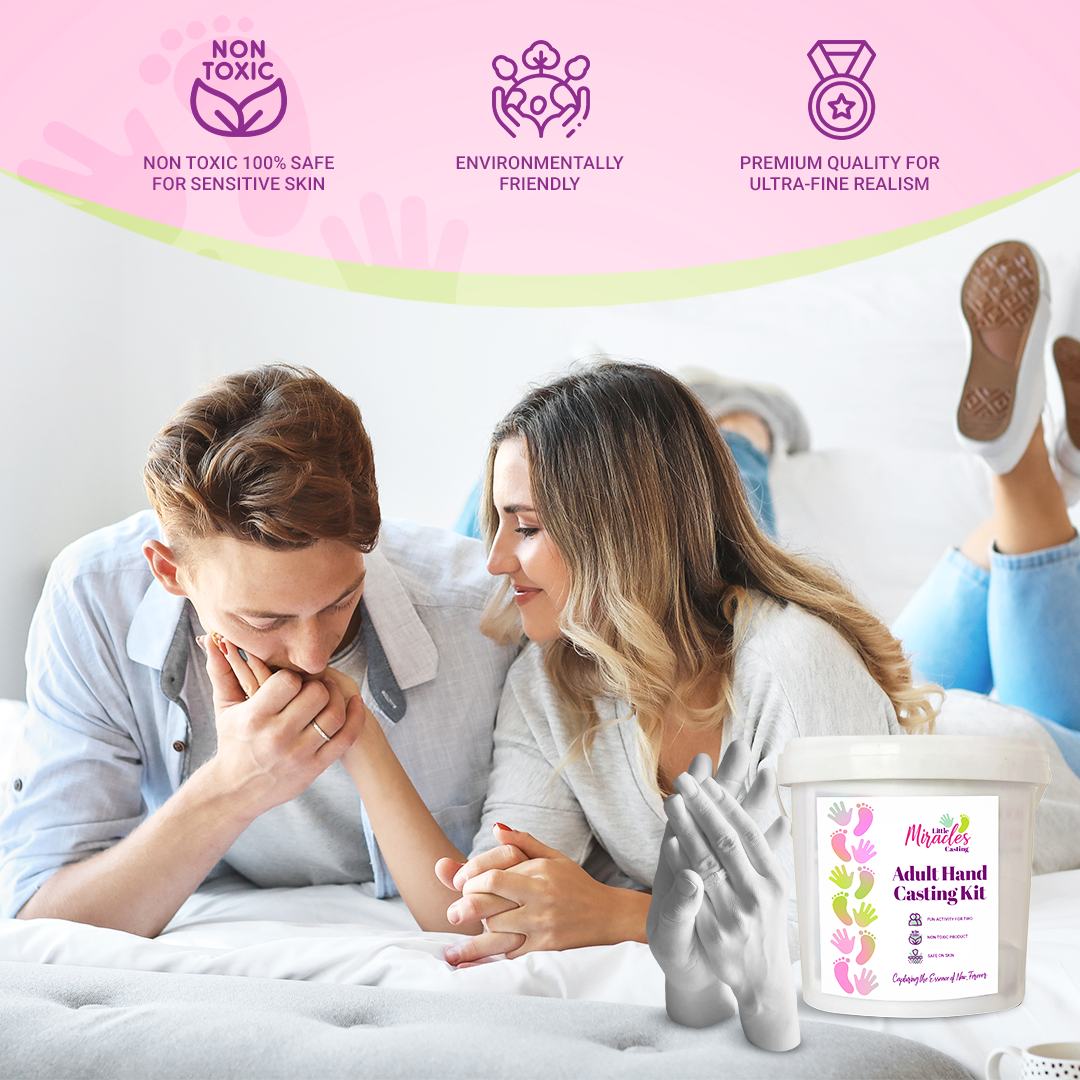
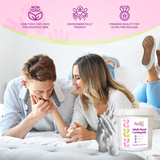
Looking for a truly unique and memorable date night idea?Little Miracles Casting Kits offer couples an extraordinary way to deepen their bond and create lasting memories together. Imagine the fun and intimacy of capturing the moment your hands are joined, creating a beautiful piece of art that symbolises your connection.
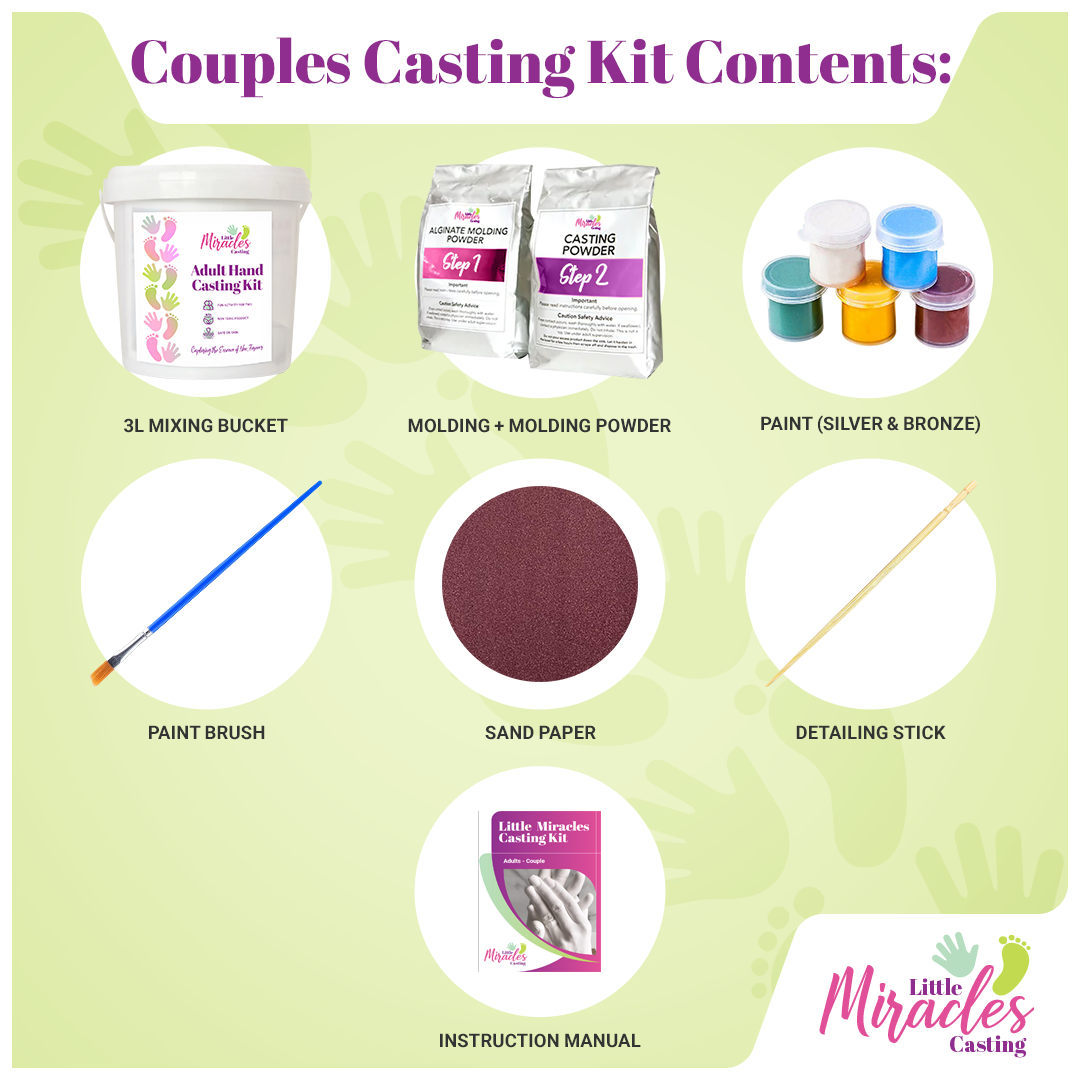
Our kits are designed for ease to use, ensuring that you both can enjoy the process of creating together, regardless of artistic skill. It's not just about the end result; it's about the laughter, the shared glances, and the tender touches along the way. This experience will not only give you a timeless keepsake but also a memorable story you'll cherish as much as the cast itself.
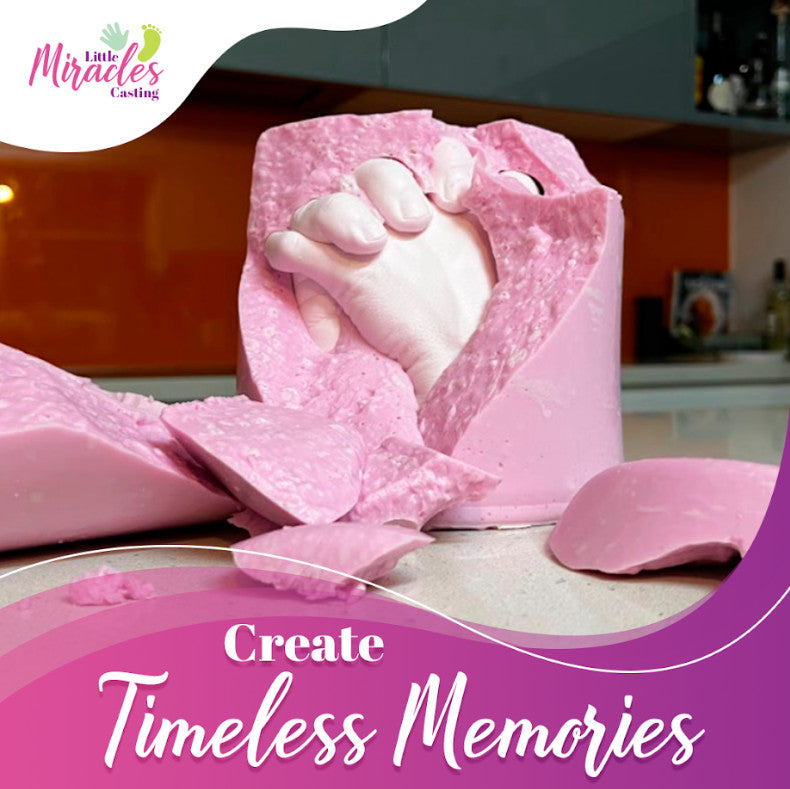
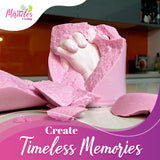
Create Timeless Memories
With Little Miracles Casting Kits, cherish the bond you share in a form that's as enduring as your love. Designed specifically for couples, these kits allow you to capture the intimate connection of entwined hands, creating a stunning representation of your unity and affection.
Easy to use and beautifully detailed, each casting is a personal piece of art, encapsulating the unique contours of your shared moments. It's more than a keepsake; it's a timeless tribute to the love that you both share, offering a way to preserve your togetherness in a physical, lasting form.

Frequently Asked Questions
How long do we need to hold hands in the casting material?
The casting process typically takes only a few minutes. You'll need to hold hands without moving until the casting material sets to ensure a clear, detailed mold. Full setting times vary, but expect to remain still for about 3-5 minutes.
How do I stop my casting mixture (alginate) from setting too quickly?
Alginate sets more quickly when the water or room temperature is warmer, so use cold water from the tap to give yourself as much time as possible to get it mixed. Using cold water will mean you need to keep still for longer. You should always use an electric mixer as getting our casting mixture mixed with a hand whisk or a wooden spoon is going to be incredibly difficult before it starts to set. Get a friend or family member to pour in the bags of alginate while you mix, this will mean you can just keep mixing and will save you time.
How do I avoid losing fingertips when casting our hands?
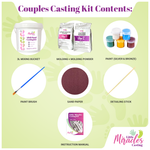
Hand position is very important! Make sure that fingertips of both hands are in contact with each other when you form the shape you’re going to dunk into the bucket. Fingertips that are ‘floating” are hard to fill with the stone. So, ensure it’s a nice loving hand grip. When pouring the plaster hold the mould at an angle. This way the fingertips of the cast are filled first. In case you do still lose some fingertips, we recommend holding back a bit of the casting powder (just a couple of spoonfuls) before mixing it up so you can make repairs. Mix equal parts of stone powder to water.
How do I avoid bubbles on the skin surface of my cast?
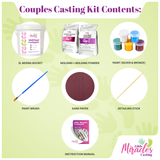
Make sure that the alginate is mixed as thoroughly and smoothly as possible. Another tip to avoid bubbles is to keep tapping the bucket during the stone pour. This releases air from the liquid stone. Keep tapping at every stage of the pour and after you’ve filled the mould up to the top of the wrists. Keep tapping both sides of the bucket until the liquid stone starts to thicken and then stop. This will bring all the bubbles to the surface and prevent the liquid stone from separating and forming channels or bubbles. But if you still encounter the above problem here’s how to fix it! You can carefully scrape away tiny bubbles using a suitable tool. Don’t try and flick them off as this will result in little craters on the skin surface. Our kits include a detailing tool that can be used for small bubbles or you can use a craft knife or scalpel. You should remove larger bubbles by gradually scraping them off. Do this carefully layer by layer until you reach the level of the skin surface. A craft knife or scalpel is best for this.

